Introduction
When I first started migrating services from bare Docker Compose setups on my Proxmox homelab to a proper Kubernetes cluster, the learning curve was real — but so was the payoff. Kubernetes (K8s) is the undisputed standard for container orchestration at scale, and understanding it deeply changes how you think about everything from your Node.js service architecture to your CI/CD pipelines.
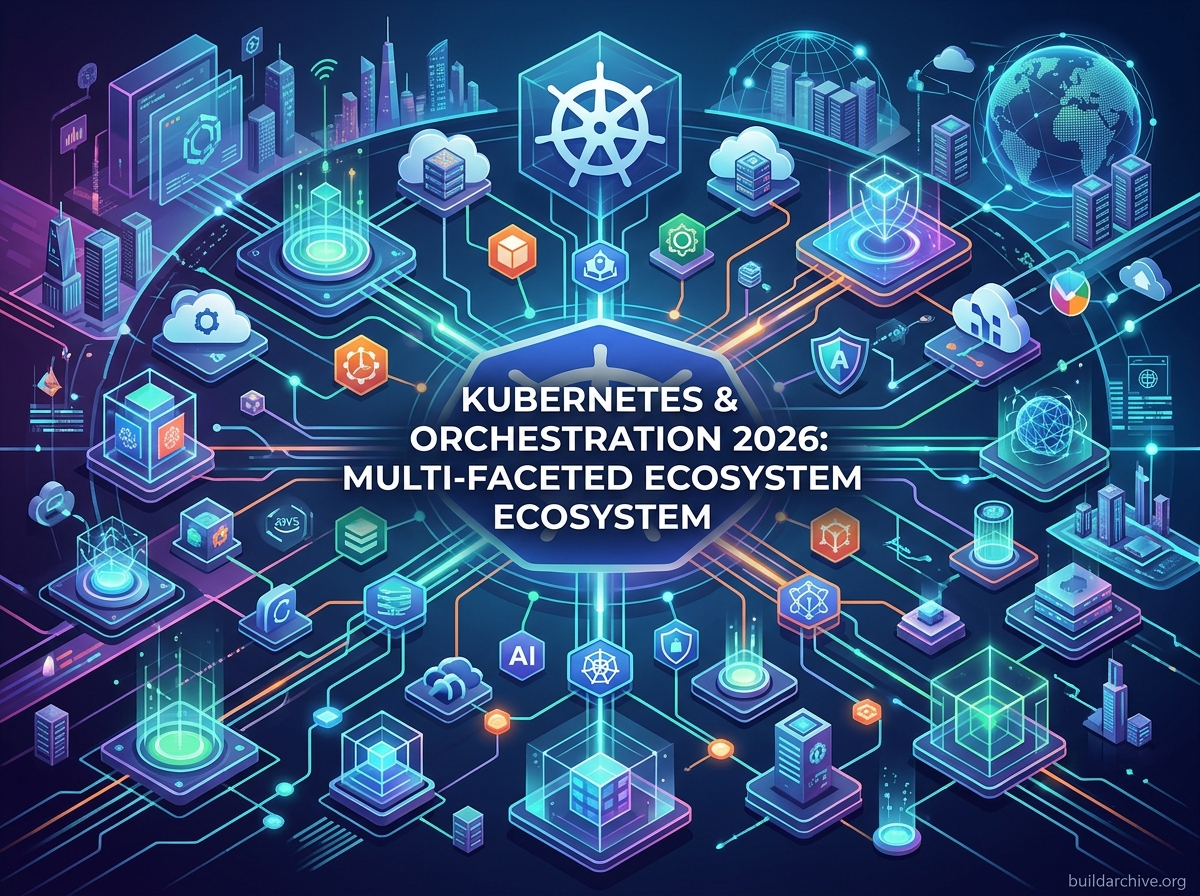
Many teams make the mistake of treating Kubernetes as just a “hosting platform.” In reality, effective orchestration is a holistic discipline that touches microservice design, delivery pipelines, and operational reliability all at once. To truly master it, you need to look beyond the basic Pod and understand the ecosystem of controllers, networking, and security that makes modern production systems resilient. This post explores that multi-dimensional nature and why Kubernetes is the foundation serious engineering teams build on.
The Architecture of Resilience: More Than Just Containers
At its core, Kubernetes is a declarative system. You don’t tell the cluster “start a container” — you tell it “I want three replicas of this service running,” and the orchestration engine works continuously to maintain that desired state. This shift from imperative commands to declarative configuration is what enables the kind of scalability that would otherwise require constant manual intervention.
To understand the depth of orchestration, you need to know the components that keep your applications running:
- The Control Plane: The brain of the operation — the API Server, etcd (the authoritative source of truth), the Scheduler, and Controller Managers. It makes global decisions such as detecting node failures and redistributing workloads.
- Worker Nodes: The machines (virtual or physical) where your containers actually run. Each node runs a Kubelet agent that reports back to the control plane and ensures containers stay healthy.
- Self-Healing Mechanisms: Kubernetes doesn’t just deploy code — it monitors it. If a container crashes, K8s restarts it. If a node goes down, K8s reschedules the affected Pods onto healthy nodes. This is the practical definition of high availability.
By decoupling the application from the underlying hardware, Kubernetes lets you treat infrastructure as a fluid pool of resources. The entire desired state of your cluster can be expressed in YAML manifests and version-controlled alongside your application code — which is what Infrastructure as Code (IaC) looks like in practice.
Advanced Orchestration: Networking, Storage, and Config
Once you move past the basics, you quickly encounter the real-world challenges of networking and state management. Orchestration is as much about connectivity as it is about compute. Without a solid networking layer, your microservices are isolated islands that cannot form a coherent system.
Service Discovery and Load Balancing
In a dynamic environment where Pods are created and destroyed constantly, static IP addresses are useless. Kubernetes solves this through the Service abstraction. A Service provides a single, stable entry point for a group of Pods. Whether you are using a ClusterIP for internal communication between your Express API and your MongoDB instance, or a LoadBalancer to expose your app to the internet, Kubernetes handles the routing logic behind the scenes. Your application code never needs to know which specific Pod it is talking to.
Managing State with Persistent Volumes
Containers are ephemeral by design — if a container restarts, any data written to its local filesystem is gone. For databases or any stateful workload, Kubernetes provides Persistent Volumes (PV) and Persistent Volume Claims (PVC). This lets the orchestration layer attach storage to a Pod regardless of which node it lands on, ensuring data survives Pod restarts in a distributed environment. When I run MongoDB or PostgreSQL in my homelab cluster, PVCs backed by local Proxmox storage are what keep the data safe across rescheduling events.
Configuration and Secrets Management
Following the 12-Factor App methodology, configuration should never be hardcoded in your container image. Kubernetes provides ConfigMaps for non-sensitive environment variables and Secrets for credentials and tokens, both injected into containers at runtime. This is what allows the same Docker image built in CI to move cleanly from a staging namespace to production without modification — the image stays identical, only the injected config changes.
Practical Mastery: A Deployment Strategy Example
To see the power of orchestration in action, consider how Kubernetes handles a Rolling Update. This is one of the most critical release management patterns, and it is what makes deploying a new version of your Node.js API a routine, low-risk operation rather than a stressful event.
Here is a concrete Deployment manifest for an Express API that configures a rolling update with proper health probes — the exact kind of setup I use when deploying TypeScript services:
apiVersion: apps/v1
kind: Deployment
metadata:
  name: express-api
  labels:
    app: express-api
spec:
  replicas: 3
  strategy:
    type: RollingUpdate
    rollingUpdate:
      maxSurge: 1        # Allow one extra Pod above desired count during update
      maxUnavailable: 0  # Never reduce below desired count during update
  selector:
    matchLabels:
      app: express-api
  template:
    metadata:
      labels:
        app: express-api
    spec:
      containers:
        - name: express-api
          image: registry.example.com/express-api:2.0.0
          ports:
            - containerPort: 3000
          readinessProbe:
            httpGet:
              path: /health
              port: 3000
            initialDelaySeconds: 5
            periodSeconds: 10
          livenessProbe:
            httpGet:
              path: /health
              port: 3000
            initialDelaySeconds: 15
            periodSeconds: 20
          envFrom:
            - configMapRef:
                name: express-api-config
            - secretRef:
                name: express-api-secrets
The maxUnavailable: 0 setting is the key detail here. It tells Kubernetes never to terminate an old Pod until a new one is confirmed healthy by its readiness probe. This means your users experience zero downtime during the rollout. The maxSurge: 1 setting allows one temporary extra Pod to exist during the transition, so the cluster can spin up the new version before tearing down the old one. If the new Pods never pass their readiness checks, Kubernetes halts the rollout automatically — your version 1.0 Pods keep serving traffic while you investigate.
That automated safety net is precisely why this pattern is the default choice for production deployments. The orchestrator enforces a discipline that would otherwise depend entirely on a human following a runbook correctly at 2am.
To walk through the lifecycle explicitly: first, you update the image tag in the manifest and apply it. Kubernetes creates a new Pod with version 2.0. It waits for the readiness probe at /health to return a 200 before sending any traffic to that Pod. Once the new Pod is healthy, the Service routes requests to it, and Kubernetes terminates one old Pod. This cycle repeats until all replicas are running the new version.
Advanced Scheduling: Node Affinity and Taints
Orchestration is, at its core, an optimization problem. The question is how to place workloads to minimize latency and maximize hardware utilization. Using Node Affinity combined with Taints and Tolerations lets you steer latency-sensitive workloads toward high-performance instances while background tasks run on cheaper spot hardware. Here is a practical example of a node affinity rule that prefers scheduling a pod onto nodes labeled as high-performance:
apiVersion: apps/v1
kind: Deployment
metadata:
  name: api-service
spec:
  replicas: 3
  selector:
    matchLabels:
      app: api-service
  template:
    metadata:
      labels:
        app: api-service
    spec:
      affinity:
        nodeAffinity:
          preferredDuringSchedulingIgnoredDuringExecution:
            - weight: 80
              preference:
                matchExpressions:
                  - key: node-type
                    operator: In
                    values:
                      - high-performance
      containers:
        - name: api-service
          image: my-registry/api-service:1.4.2
          resources:
            requests:
              cpu: "500m"
              memory: "256Mi"
            limits:
              cpu: "1000m"
              memory: "512Mi"
The preferredDuringSchedulingIgnoredDuringExecution rule is worth understanding specifically: it tells the scheduler to prefer high-performance nodes but still schedule elsewhere if none are available. This prevents pods from getting stuck in a Pending state when your preferred nodes are full — a subtle but important distinction from the required variant.
Horizontal, Vertical, and Cluster Autoscaling
Most teams start with Horizontal Pod Autoscaling (HPA) based on CPU or memory. The problem is that CPU and memory are lagging indicators — by the time they spike, your users are already experiencing latency. For a truly responsive system, you should scale on custom metrics such as queue depth or p99 request latency from your service mesh.
The three autoscaling layers work together and each operates at a different scope. HPA adds more pod replicas to handle increased throughput. VPA adjusts the resource requests and limits of existing pods to prevent OOMKilled errors that restart your containers mid-request. The Cluster Autoscaler adds physical nodes when pending pods have no room to schedule. Using all three in combination is what produces a system that actually scales gracefully rather than just scaling eventually.
The Security and Operations Layer
Orchestration provides powerful tools for Zero Trust networking and resource isolation that you should be using from day one, not as a later hardening step. Using Network Policies, you can define exactly which services are allowed to communicate with each other at the cluster level — effectively creating application-layer firewalls. For example, you can enforce that only your Express API is allowed to open connections to your MongoDB Pod, and nothing else in the cluster can reach it directly.
Role-Based Access Control (RBAC) ensures that only authorized users or CI/CD service accounts can apply changes to the cluster. A dedicated service account for your pipeline should have the minimum permissions required to update Deployments in a specific namespace — nothing more. Scoping permissions this tightly means a compromised CI token cannot affect unrelated workloads or cluster-wide resources. Shifting these security decisions into your version-controlled manifests means your cluster is secure by design, and that security is auditable.
Conclusion: Your Path to Orchestration Excellence
Kubernetes represents the operational foundation that serious production systems are built on, but it rewards teams who invest in understanding it properly rather than cargo-culting manifests. A few concrete steps that will move you forward meaningfully: audit your existing workloads to determine whether they are genuinely cloud-native or whether you are just running VMs disguised as containers; add liveness and readiness probes to every Deployment so the self-healing mechanisms actually work; and explore GitOps tooling like ArgoCD or Flux to create a direct, auditable link between your Git repository and the live state of your cluster.
Mastering Kubernetes is a marathon, but each concept builds cleanly on the last. Focus on declarative configuration, automated resilience, and least-privilege networking, and you give your services the best possible foundation to scale reliably.
3 thoughts on “Kubernetes Beyond the Basics: Networking, Storage, Scheduling, and Autoscaling”