Why I Started Taking Containers Seriously (And You Should Too)
I’ll be honest — for a while, Docker felt like something “DevOps people” dealt with, not fullstack developers like me. I was perfectly happy running everything locally and crossing my fingers that production would behave the same way. It didn’t. It never does.
The turning point came when I started running services on my Proxmox homelab. Suddenly I had multiple VMs consuming insane amounts of RAM just to host things that should have been lightweight. That’s when I actually sat down and understood what containers are doing under the hood — and why they’re not just a trend, but the foundation of how modern software gets shipped.
This post breaks down containerization from first principles: what’s actually happening at the OS level, how it differs from virtual machines, and how to build your first real containerized workflow with an actual Dockerfile you can use today.
What Is a Container, Really?
The usual explanation is “like a VM but lighter.” That’s true, but it doesn’t tell you why. To understand containers, you have to look at what the Linux kernel actually provides.
A container is not a virtual machine. It doesn’t emulate hardware. It doesn’t boot a full OS. Instead, it uses specific features built into the Linux kernel to create an isolated space where a process runs — convinced it has the machine to itself, even though it’s sharing the same kernel as everything else on the host.
Three kernel features make this work:
1. Namespaces — The Isolation Layer
Namespaces are what make a container “feel” isolated. When a process runs inside a namespace, it can only see its own world: its own process list, its own network interfaces, its own filesystem mount points. A process in container A cannot see or interfere with processes in container B, or with the host system. This is how Docker achieves process isolation without needing a hypervisor.
2. Control Groups (cgroups) — The Resource Governor
Isolation alone isn’t enough. If one container can consume 100% of the CPU or exhaust all available RAM, it brings down everything else on the host. cgroups solve this by letting you set hard limits on how much CPU, memory, and disk I/O a container can use. In practice, this is what keeps a misbehaving service from taking your whole server down with it.
3. Union File Systems — The Layered Storage Model
This is the clever part that makes containers so storage-efficient. Instead of copying a full OS for every container, images are built in layers. A base layer might be a minimal Debian install. Your application adds a thin layer on top: your code, your dependencies, your config. Each layer is shared across containers that use the same base, so your disk usage stays manageable even when running dozens of containers.
Containers vs. Virtual Machines: What Actually Changes
I ran both for a while in my homelab before the difference really clicked. Here’s the practical reality:
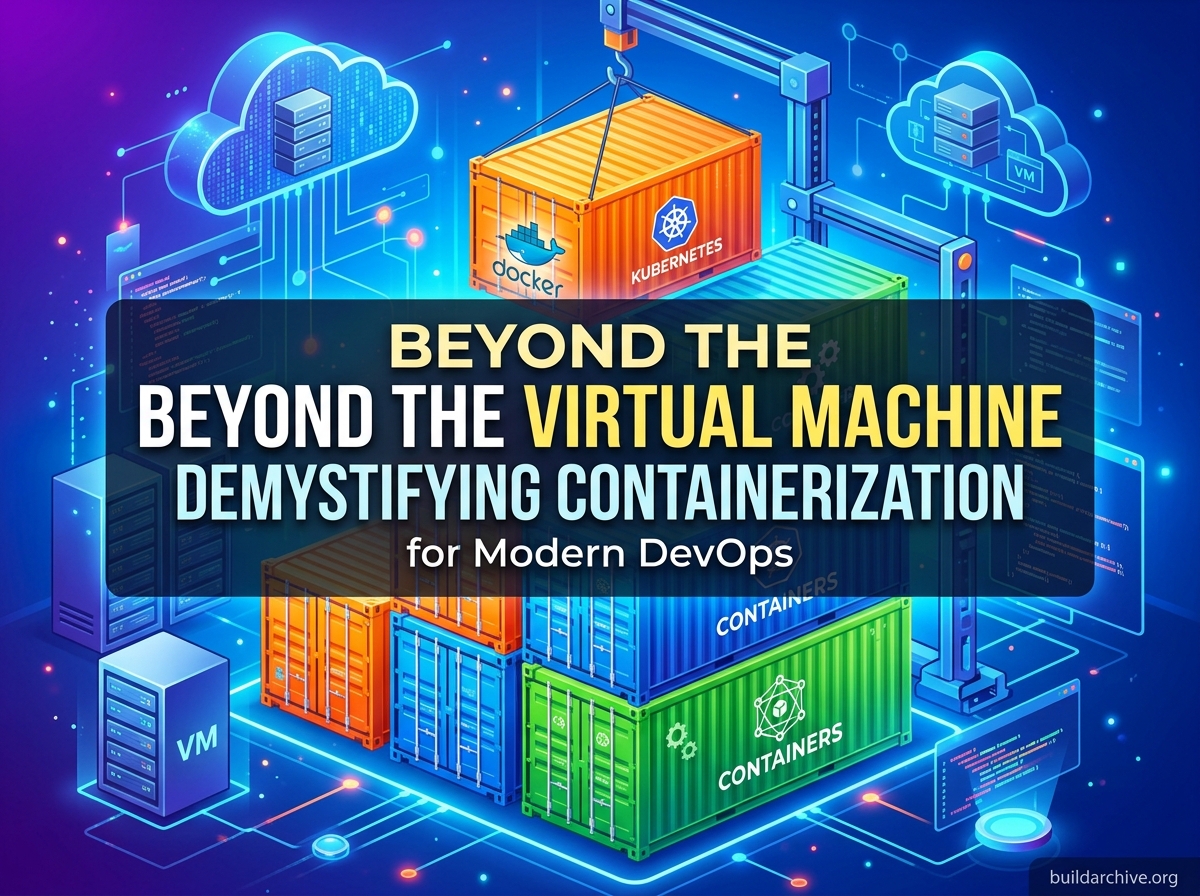
A Virtual Machine sits on a hypervisor (like Proxmox, VMware, or Hyper-V). Each VM needs its own full Guest OS — kernel included. A minimal Ubuntu VM might consume 500MB of RAM before you’ve even installed your application. Boot time is measured in minutes. Each VM is a heavyweight, self-contained environment.
A Container runs on a container engine (like Docker) that sits directly on the host OS. Because the kernel is shared, the container itself might be 50MB. It starts in milliseconds. You can run dozens of containers on a machine where you could only fit a handful of VMs.
This is not about VMs being “bad.” Proxmox VMs are fantastic for full OS isolation, running different kernels, or anything that genuinely needs hardware-level separation. Containers are the right tool when you want to run application workloads fast, efficiently, and repeatably.
The key practical advantages of containers for developers:
- True portability: The container includes everything your app needs to run. If it works on your laptop, it works in production. No more “but it works on my machine.”
- Infrastructure as code: Your environment is defined in a file you can version, review, and roll back — just like your application code.
- Density and cost: You pack significantly more workloads onto the same hardware compared to VMs.
Building a Real Dockerfile
Enough theory. Let’s look at how this actually works. A Dockerfile is the blueprint for your container image — a plain text file that defines exactly what goes into the environment your application runs in.
Here’s a real Dockerfile for a Node.js web application, the kind you’d actually use in a project:
# Use a specific version — never use "latest" in production
FROM node:20-alpine

# Set the working directory inside the container
WORKDIR /app

# Copy dependency files first (this leverages Docker's layer cache)
# If package.json hasn't changed, Docker skips re-running npm install
COPY package*.json ./

# Install dependencies
RUN npm ci --only=production

# Copy the rest of your application code
COPY . .

# Expose the port your app listens on
EXPOSE 3000

# The command that runs when the container starts
CMD ["node", "server.js"]
A few things worth understanding here that most tutorials skip:
- Why copy
package.jsonbefore the rest of the code? Docker caches each layer. If your application code changes but your dependencies don’t, Docker reuses the cachednpm cilayer instead of reinstalling everything. This makes builds much faster. - Why
node:20-alpineinstead ofnode:20? The Alpine variant is a minimal Linux distribution. The full Node.js image is around 1GB. Alpine brings it down to ~150MB. Smaller images mean faster pulls, faster deployments, and a smaller attack surface. - Why
npm ciinstead ofnpm install?npm ciinstalls exactly what’s in yourpackage-lock.jsonand fails if there’s a mismatch. It’s deterministic — the same input always produces the same result, which is exactly what you want in a container build.
To build and run this container locally:
# Build the image and tag it
docker build -t my-node-app:1.0 .

# Run it, mapping port 3000 on the container to port 8080 on your machine
docker run -p 8080:3000 my-node-app:1.0
A Practical docker-compose Setup
In real projects, your application rarely runs alone. You need a database, maybe a cache, maybe a message queue. docker-compose lets you define and run multi-container environments from a single file.
Here’s an example for a Node.js app with a PostgreSQL database:
version: '3.8'

services:
  app:
    build: .
    ports:
      - "8080:3000"
    environment:
      - DATABASE_URL=postgres://user:password@db:5432/mydb
    depends_on:
      - db
    restart: unless-stopped

  db:
    image: postgres:16-alpine
    environment:
      - POSTGRES_USER=user
      - POSTGRES_PASSWORD=password
      - POSTGRES_DB=mydb
    volumes:
      - postgres_data:/var/lib/postgresql/data
    restart: unless-stopped

volumes:
  postgres_data:
With this file in your project root, starting the whole stack is a single command:
docker compose up -d
The depends_on ensures the database starts before your application. The named volume (postgres_data) persists your database data even if you stop and remove the containers.
How This Connects to Your Delivery Pipeline
Once you start thinking in containers, the CI/CD picture changes. Your deployment artifact is no longer a zip file or a jar — it’s a container image. When you push code to Git, your CI pipeline builds a new image, runs tests inside that image, and pushes it to a registry (Docker Hub, GitHub Container Registry, or a private one).
This approach solves a problem called configuration drift — the slow, painful divergence between your development environment and production that happens when servers are patched and updated over time. Instead of patching a running server (mutable infrastructure), you replace the old container with a new one built from a clean image (immutable infrastructure). Every deployment is predictable because you’re always starting from a known state.
This also makes deployment strategies like Blue/Green (running two identical production environments and switching traffic between them) or Canary releases (gradually rolling out a new version to a subset of users) practical to implement. When switching between versions is as fast as swapping a container, the risk profile of a deployment drops dramatically.
What Comes Next
Running containers manually with Docker Compose works well up to a point. When you have dozens of services, multiple replicas, health checks, rolling updates, and traffic routing to manage — that’s when you need an orchestration layer. Kubernetes is the standard answer, but it has a steep learning curve. Tools like Nomad or Docker Swarm are lighter alternatives worth knowing about.
For now, the most valuable thing you can do is get hands-on. Pick one of your existing projects and containerize it. Write the Dockerfile, figure out why it breaks, fix it. That process will teach you more than any tutorial.
If you’re running a homelab — especially with Proxmox — containers are the single biggest quality-of-life improvement you can make to how you run services. The RAM savings alone are worth it.